




28 Oct DIY Lash Perm at Home: Step-by-Step Guide
A lash perm is a fantastic way to lift and curl your eyelashes, giving them a longer, fuller appearance without the need for extensions. With a lash perming kit, you can achieve salon-style results safely at home if you follow the steps carefully.
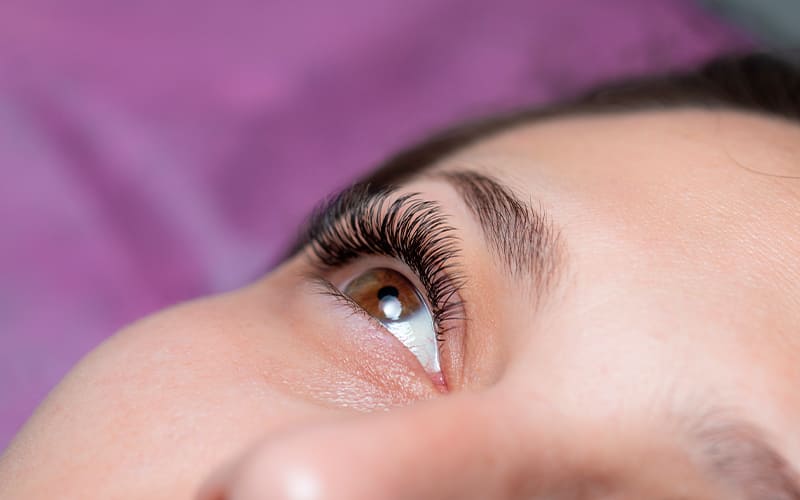
Step 1: Cleanse
Begin by thoroughly cleansing the eye area with a gentle toner to remove makeup, oils, and dirt. This ensures the perm solution adheres properly.
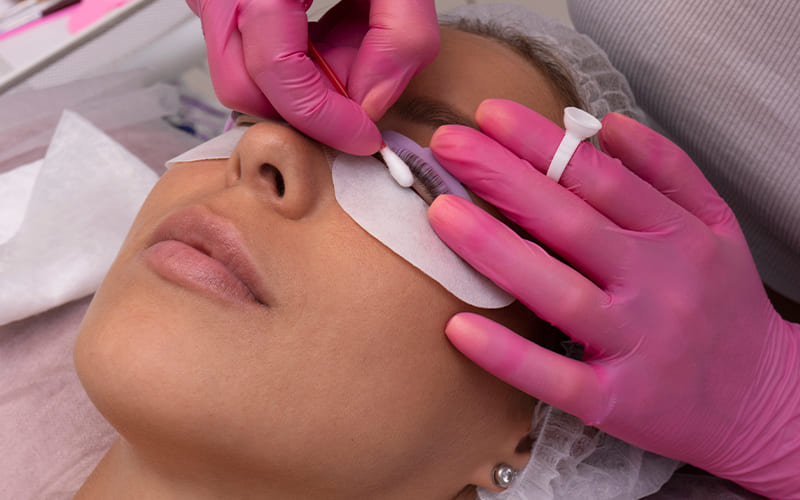
Step 2: Apply Eye Lift Pads
Using the glue provided, attach the eye lift pads to your eyelids. These pads act as a guide and support for shaping your lashes during the perming process.
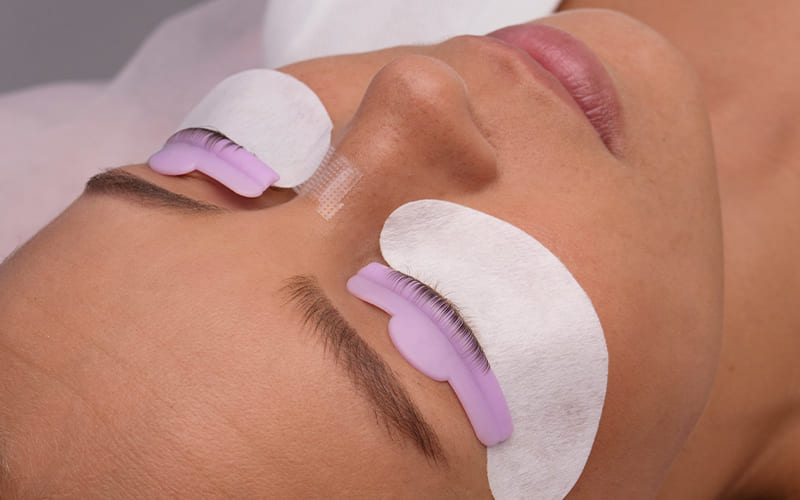
Step 3: Position the Lashes
Apply a thin layer of glue on top of the pads and use the Y-brush to lift your lashes upwards, adhering them to the pad. Ensure all lashes are separated and evenly placed.
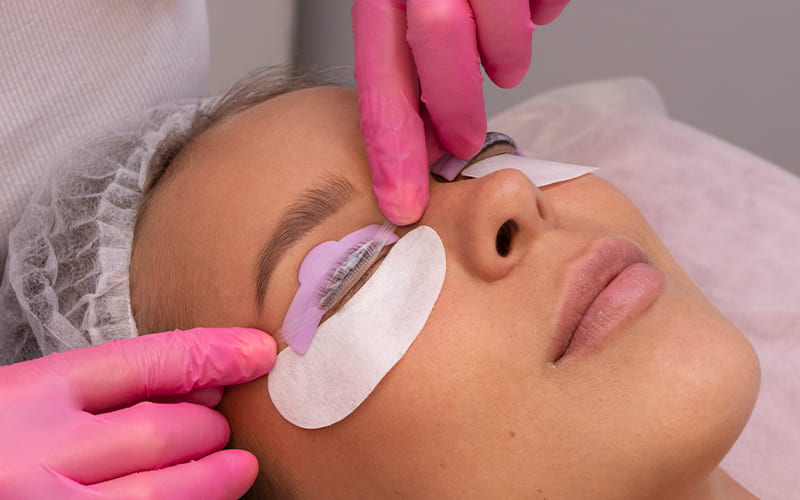
Step 4: Perming Serum
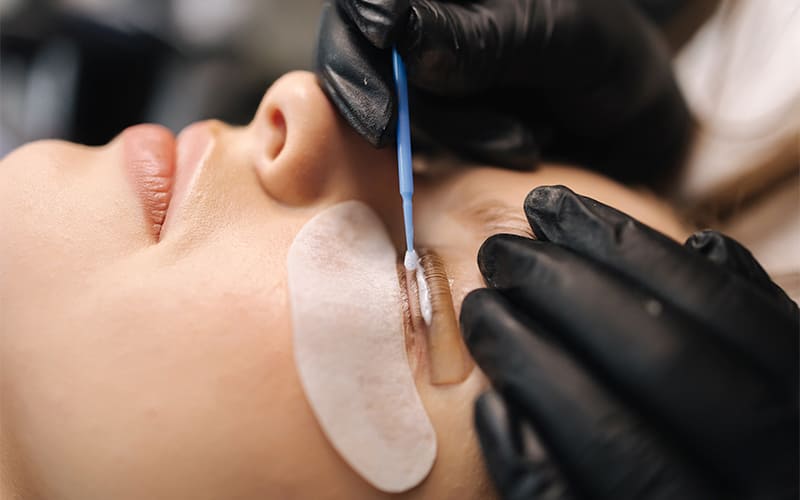
Brush the perming serum onto your lashes, cover them with plastic wrap, and leave for 10–12 minutes. Remove the wrap and wipe away any residue with the Y-brush.
Step 5: Fixation Serum
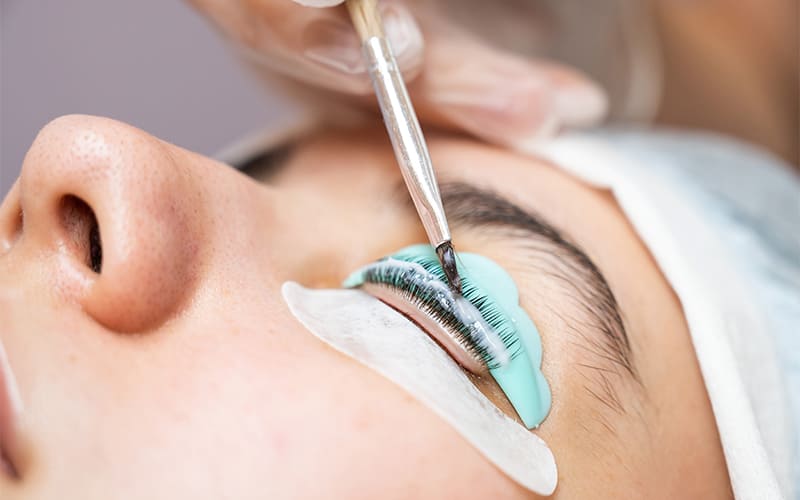
Reapply glue if necessary and comb lashes upwards. Apply the fixation serum, cover again with plastic wrap, and wait 10–12 minutes before removing and cleaning with the Y-brush.
Step 6: Nutrition Serum
Finish by brushing lashes with the nutrition serum to nourish and protect them, and clean off any remaining glue.
The result is beautifully lifted, long-lasting lashes that enhance your eyes naturally.
Sorry, the comment form is closed at this time.