




28 Oct How to Dye Your Brows at Home for a Natural Tint
Tinting your brows at home is an easy way to enhance their colour, define their shape, and save time on your daily makeup routine. With a few simple materials, you can achieve professional-looking results safely.
You’ll need:
- Brow-safe hair dye kit (e.g., Refectocil)
- Cotton swabs
- Spoolie brush
- Vaseline
- Plastic cup and spatula (if not included in the kit)
Step 1: Prep Your Brows
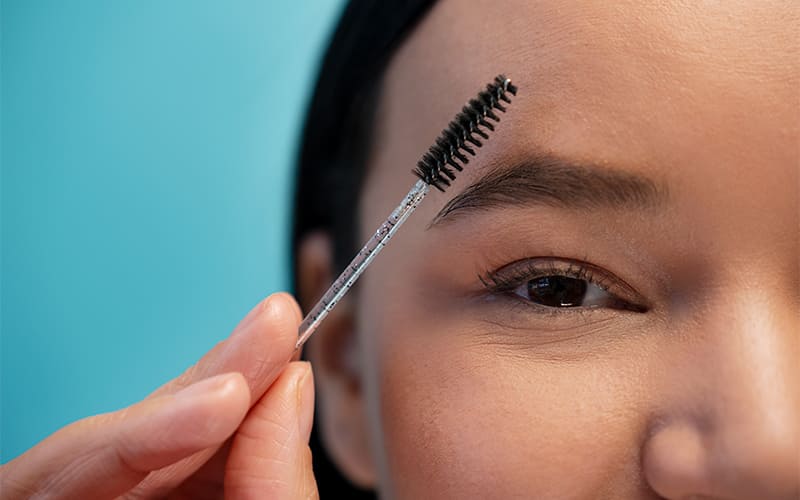
Ensure brows are clean and free of makeup. Brush through with a spoolie and apply a thin layer of Vaseline around the edges to prevent staining the skin.
Step 2: Mix the Dye
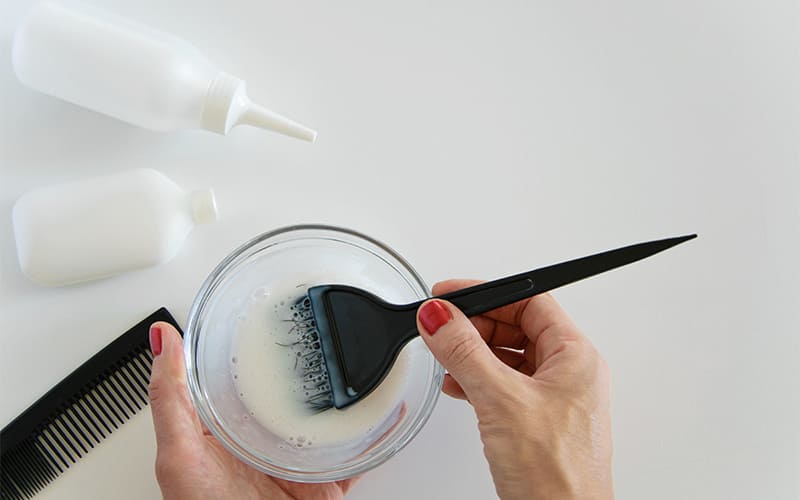
Follow the kit instructions, usually combining the colour with developer cream in a small cup until smooth.
Step 3: Apply the Dye
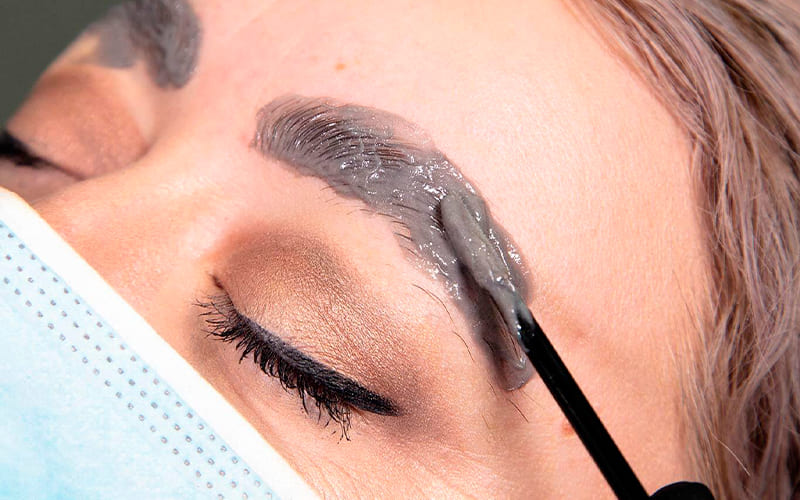
Using a wooden stick or spoolie, dab the dye onto each brow, starting from the centre and moving to the edges, covering all hairs. Blend evenly with a clean spoolie and clean any mistakes with a damp cotton swab.
Step 4: Set the Timer
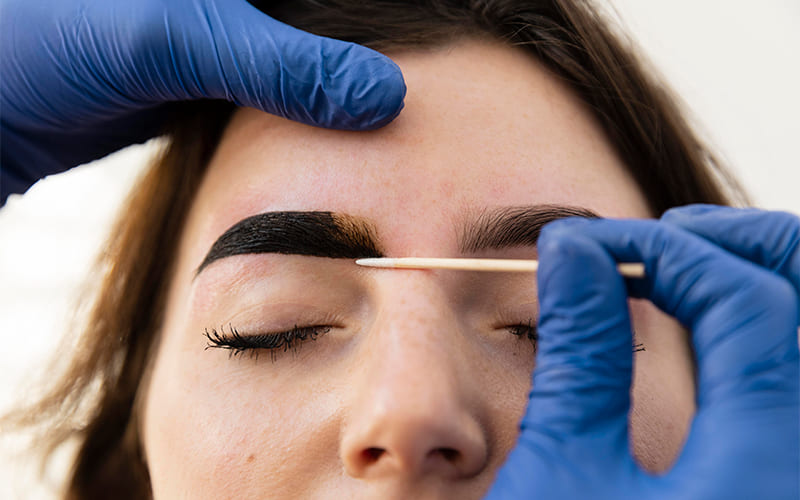
Apply dye to one brow at a time for even results. Start with 1 minute and gradually increase until the desired tint is achieved. Most kits recommend 7–10 minutes, but for a natural light brown on blonde brows, 1–2 minutes may suffice.
Step 5: Remove the Dye
Wipe away the dye with a wet cotton pad. Any colour left on the skin will fade after one or two washes.
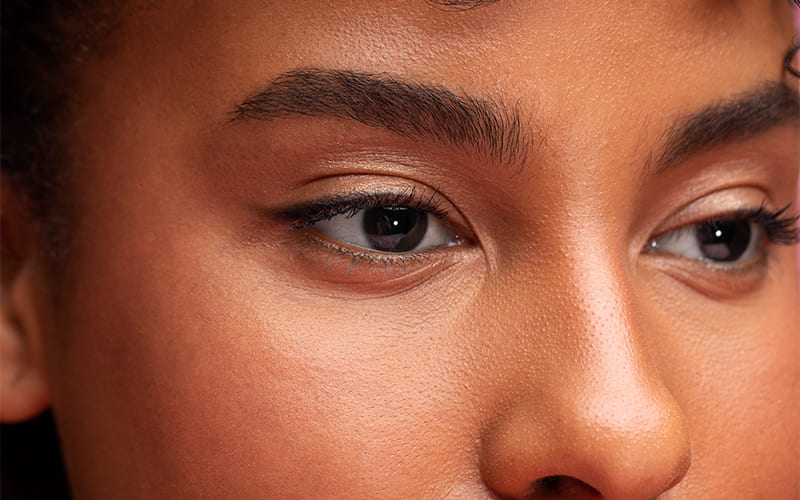
With practice, you can achieve perfectly tinted brows that last up to six weeks, enhancing your features naturally and effortlessly.
Sorry, the comment form is closed at this time.