



27 Oct How to Make Leather Cord Keepers
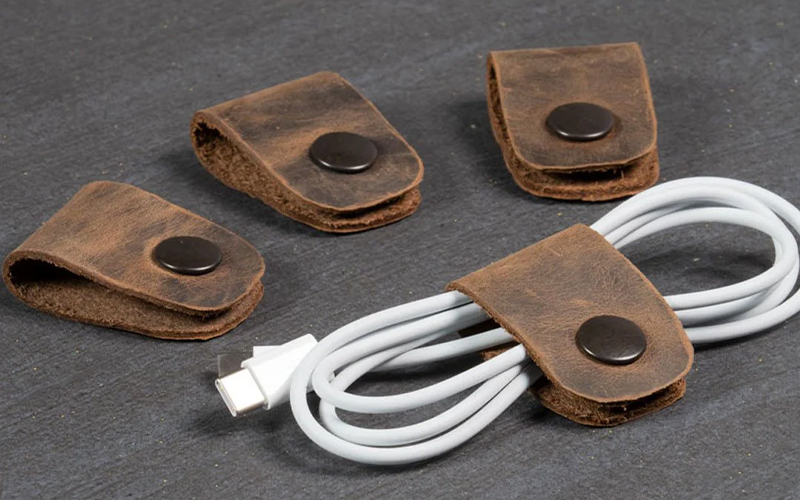
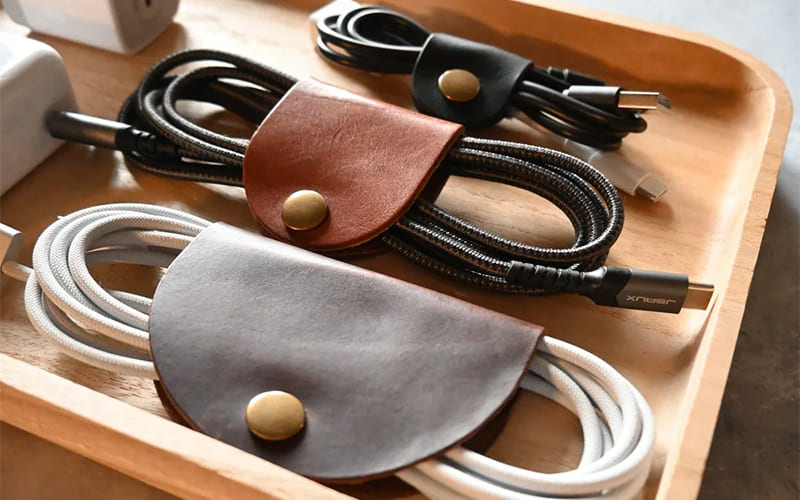
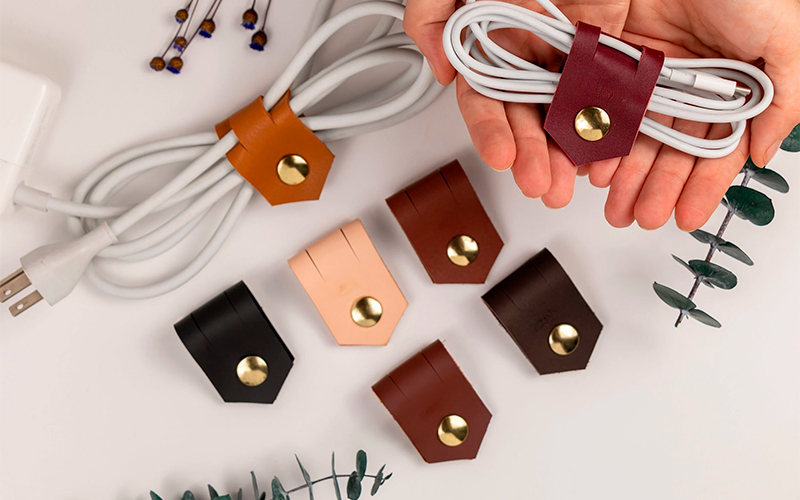
If your cables and earphones are constantly tangled, leather cord keepers are the perfect stylish solution. They’re practical, durable, and easy to make — plus, you can personalise them with gold monogrammed initials for a polished, bespoke look.
You’ll need:
- Craft cutting machine
- Monogrammed cord keeper template
- Leather
- Brass round head screw studs (10 mm)
- Gold iron-on vinyl
- Grip mat
- Deep point and fine point blades
- Steps:
- Attach the leather to your grip mat, smooth side down, and press firmly using a brayer. Avoid sticking the rough side to the mat, as it can leave fibres behind.
- Set your machine to leather and insert the deep point blade. Cut your cord keeper shapes carefully. Make a small clip in the lower circular cut so the button fits through without enlarging the hole too much.
- Screw the brass studs into the smaller hole, enlarging it slightly if needed.
- Next, cut your monogrammed initials from the gold vinyl. Don’t forget to mirror the letters before cutting. Weed the excess vinyl carefully.
- Position the initials on your leather pieces, ensuring they’re centred. Place a thin towel over the leather, then press with a hot, dry iron for 15–20 seconds. Check adhesion before removing the clear film.
Once finished, wrap your cords neatly and fasten them with your elegant new leather keepers — a small, satisfying DIY that combines function, style, and a touch of luxury.
Sorry, the comment form is closed at this time.